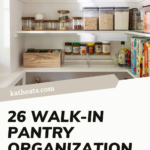
This is my first walk-in pantry, and I’ve had such a great time organizing it. Here are some walk-in pantry organization ideas rounded up into one great list of ways to keep your pantry neat and tidy.
I’ve had a lot of different pantries in my time:
- A kitchen cabinet in my first apartment
- A full-length kitchen cabinet plus a corner of the garage in my first house (I got some weird bugs in that garage pantry!)
- A full-length kitchen cabinet plus a corner of the basement in my second house (the microwave was in the basement too – all those stairs!)
- A small cabinet plus open shelves in my third house (this was when I embraced decanting into mason jars!)
- A reach-in pantry in this house 1.0 (getting bigger! See this post for pics: Pantry Hacks)
- A walk-in pantry of my dreams after our home renovation
- A well-organized walk-in pantry can store a myriad of items, from the smallest of kitchen gadgets to the bulkiest of dry goods. But, let’s face it – without a proper system in place, even the most spacious pantry can succumb to chaos and clutter.
With each move, my pantry got a tiny bit bigger. Until now, 20 years later, I finally have my dream walk-in pantry!
When it comes to having your pantry inside a kitchen cabinet, there are a lot of smart ways to utilize the storage space. I’ve written about Kitchen Cabinet Space Saver Ideas and My Favorite Kitchen Organization Accessories. Truth be told, the best way to keep a small pantry organized is to store fewer things.
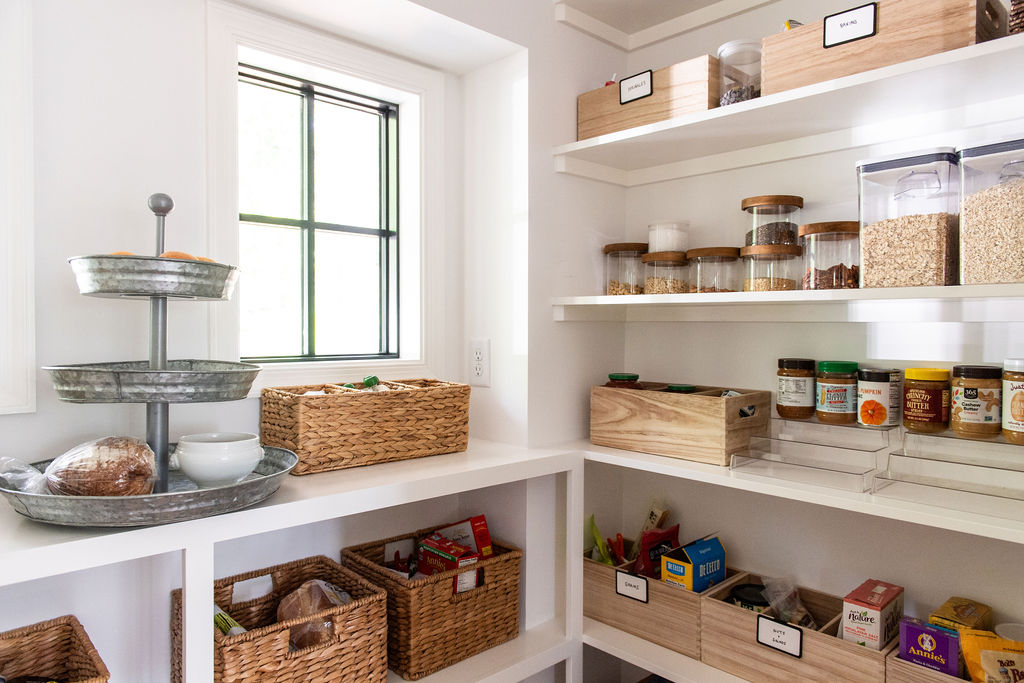
Today’s post is focused on the walk-in pantry
An organized pantry is not only visually appealing but also incredibly functional. It saves you valuable time and energy by providing easy access to all your cooking essentials. From meal planning to grocery shopping, an organized pantry keeps you on top of your inventory.
I’ve shared ours already in this post focusing on 30 Pantry Organization Bins prior to our move in and in my Home Tour. Thomas’s aunt Layton is a professional organizer and helped us organize our pantry top to bottom. She brought containers with her that I bought from her, and we returned anything we didn’t use. She worked MAGIC and lives in Richmond, VA if any of you locals need some organizing help!
Here are some organizing ideas on how to unlock your pantry’s full potential, accomodate an array of items, and keep your food stores as organized, efficient, and clutter-free as possible.
26 Walk-in pantry organization ideas
Here are 26 walk-in pantry organization ideas to help you maximize space, reduce clutter, and keep your pantry functional! Not all of these will apply to your pantry (or mine) but consider them a way to jog ideas.
1. Clear Containers
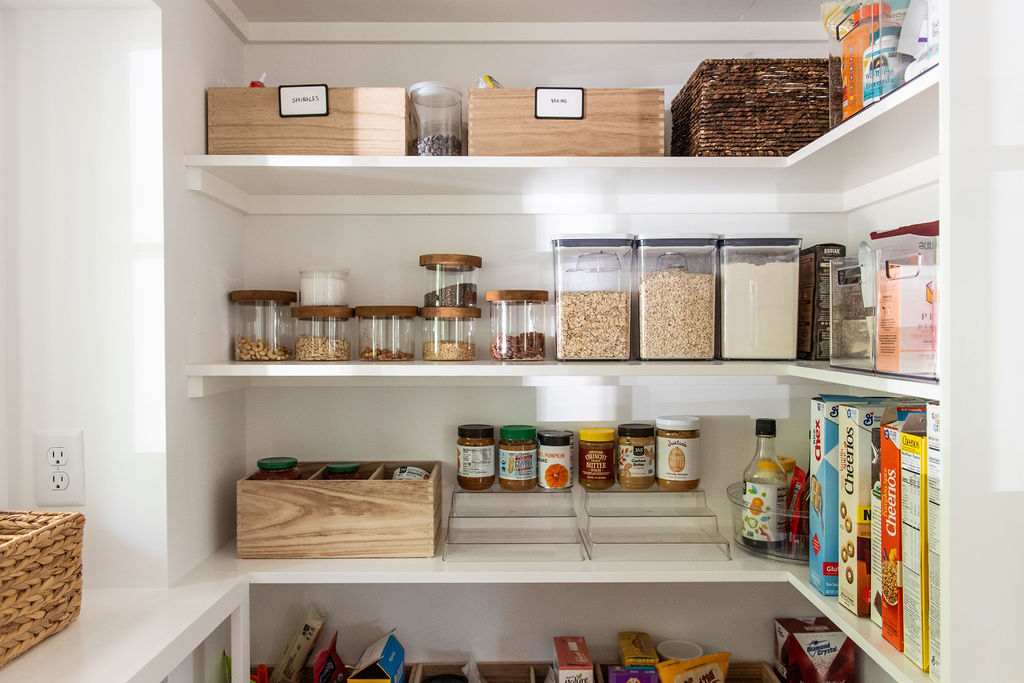
These OXO bins I got for our oats and flour are so much better than dealing with bags! I’m a halfway decanter. I love to decant bigger things (oats, flour, sugar) but leave smaller things (nuts, chips, cereal) in their original container, especially those with a quicker turnover like cereal. I will say that decanted food is SO much easier to scoop and pour, so you’ll have less mess upon use. These OXO containers have a built-in scoop that lives in the lid! And they are air tight. I can’t say the same about when my kids reach in a box for a snack…
2. Small Glass Jars
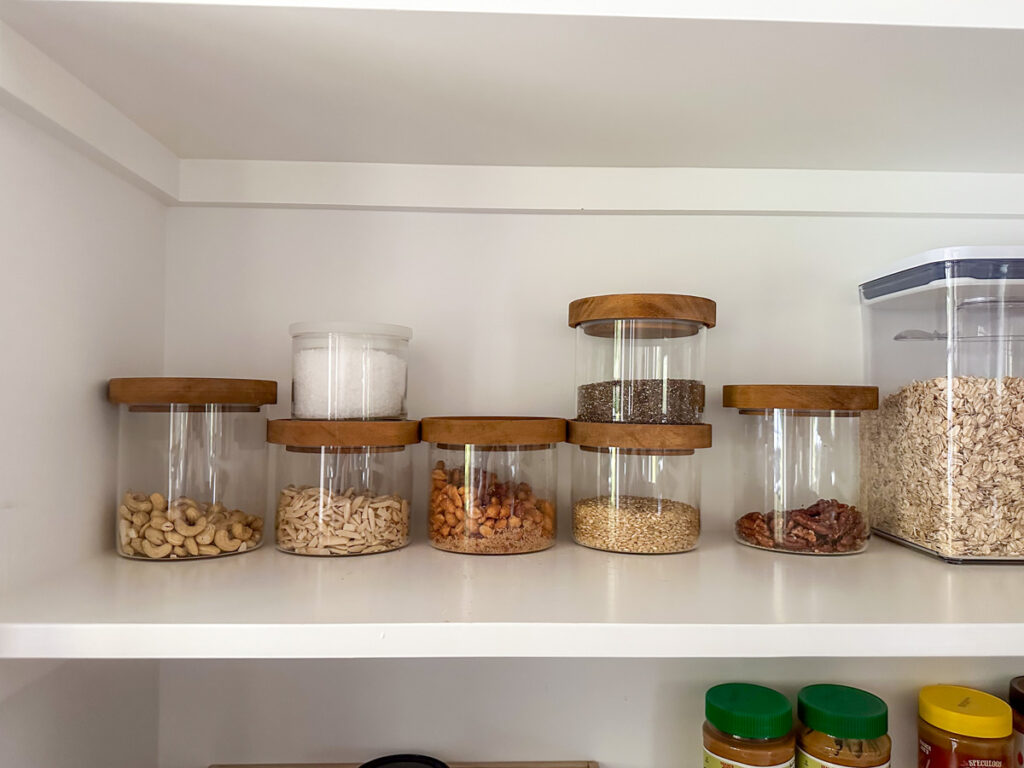
Layton brought these jars to my organization session and they are perfect for smaller amounts of food that you want to decant: nuts, candied pecans, chia seeds, flaked salt. Anything from the bulk bins that you might come home with in a bag or that comes in a store-bought bag that isn’t totally resealable. I love that they are stackable and the wooden top adds warmth. Note they are hard to find in stores, so if they’re in stock online buy them ASAP! These are similar.
3. Mason Jars
Of course the go-to OG food storage container is the mason jar! Look for wide mouth jars that are easier to fill and scoop out of. A silicone funnel is helpful to fill them up. I’ve used mason jars for grains, granola, beans, seeds, nuts, and more.
4. Baskets
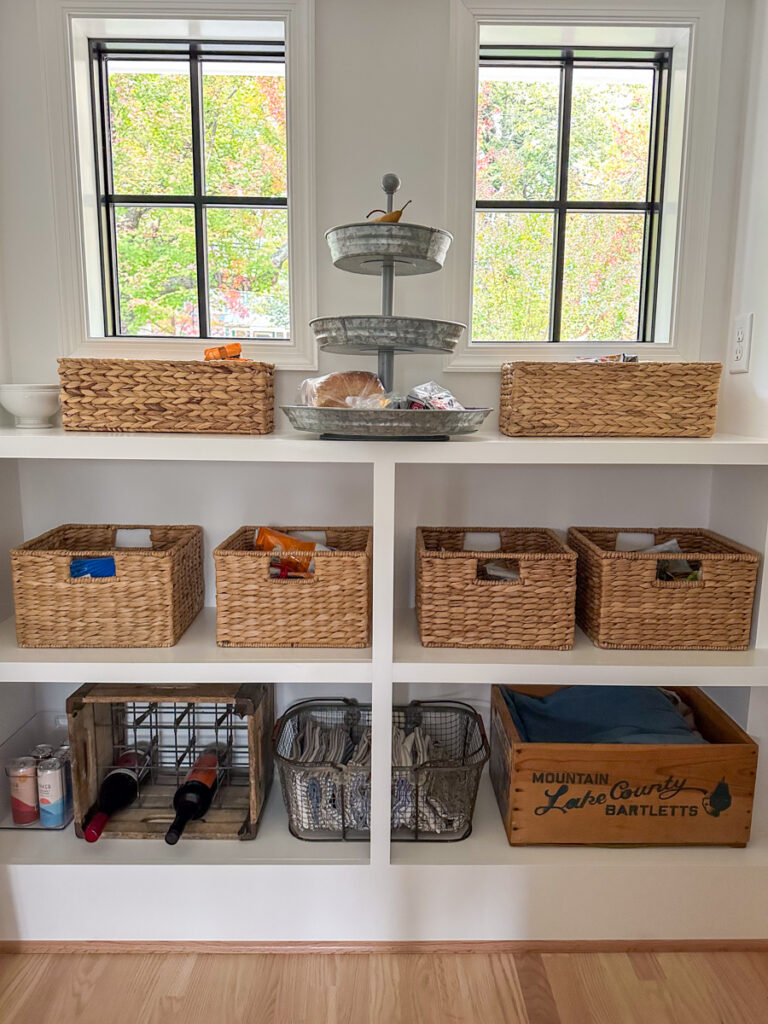
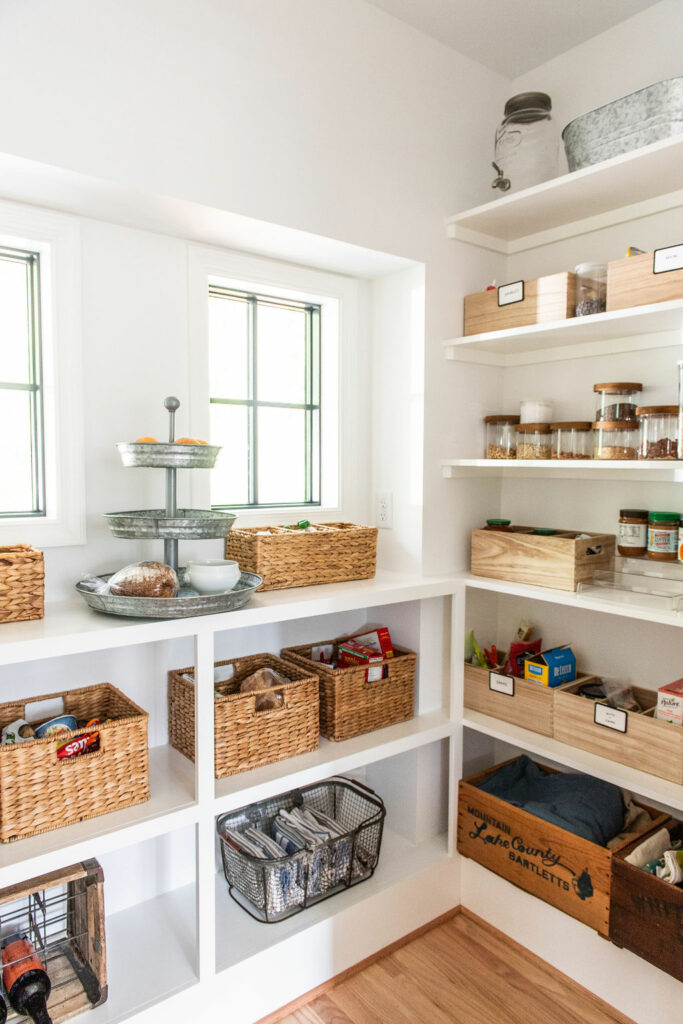
Foods that I am not decanting I prefer to hide in baskets. This keeps a uniform, cohesive look. I love hyacinth baskets because they’re lightweight and airy. These are great because they come with labels!
5. Acrylic Bins
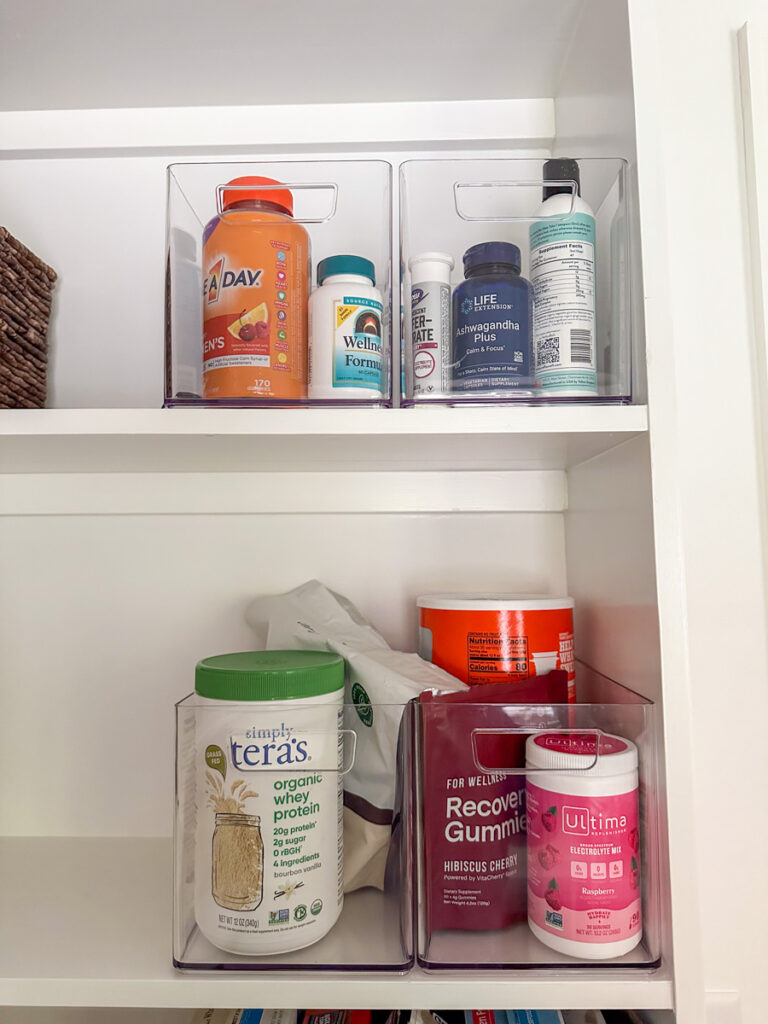
I love clear acrylic bins because they are lightweight and easy to bring down to reach. They’re also ideal for storing either pretty things OR a lot of tiny things you need to keep together, like supplements. We use them out of sight to store small supplements and in sight to contain beautiful cans of wine. Use them for storing all kinds of individually wrapped or small package foods like baby pouches, granola bars, bags of chips, grains in their own packaging, boxes of mac and cheese, and single serving snacks.
6. Divided Baskets + Boxes
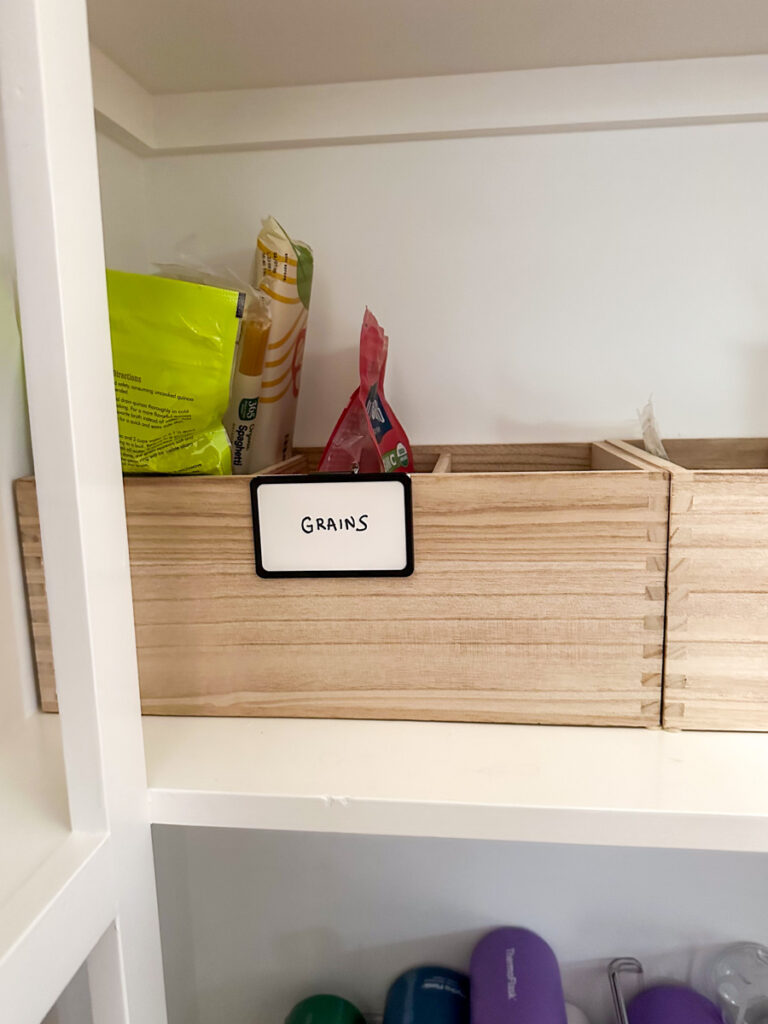
While clear containers are good for some things, generally I like opaque containers in a pantry for a more cohesive look. What you need to organize will dictate the size of the dividers. This smaller one is great for things like tuna cans or tea, or a larger one like we have is nice for baking ingredients or different pastas. I love a mix of wood and hyacinth!
7. Bamboo, Wire or Wooden Crates
Wooden crates can add a rustic touch while storing fruits, vegetables, or larger items. I use vintage wooden boxes on my lower shelves for napkins, tablecloths, and wine! I have a wire basket in my pantry too to mix up the materials and keep the farmhouse vibe going strong.
8. Shelf Risers
I bought a couple of shelf risers to use for our peanut butters. We use them frequently enough that I wanted to be able to see which one I was reaching for vs. having them hidden inside a basket. You can use these for canned goods or oils and vinegars, jams, sauces, and other items you might only have one at a time. This is the one we have that is expandable.
9. Lazy Susans
Use lazy Susans for corner spaces or deep shelves for easy access. We have an acrylic one that is deep to keep things from spilling over that we use for extra condiments and sauces. It’s perfect in the corner.

10. Canned Food Organizer
If you are someone who has a lot of the same canned good (beans, tomato sauce, pumpkin (!), etc.) then the self dispensing canned goods units are great!
11. Water Bottle Organizer
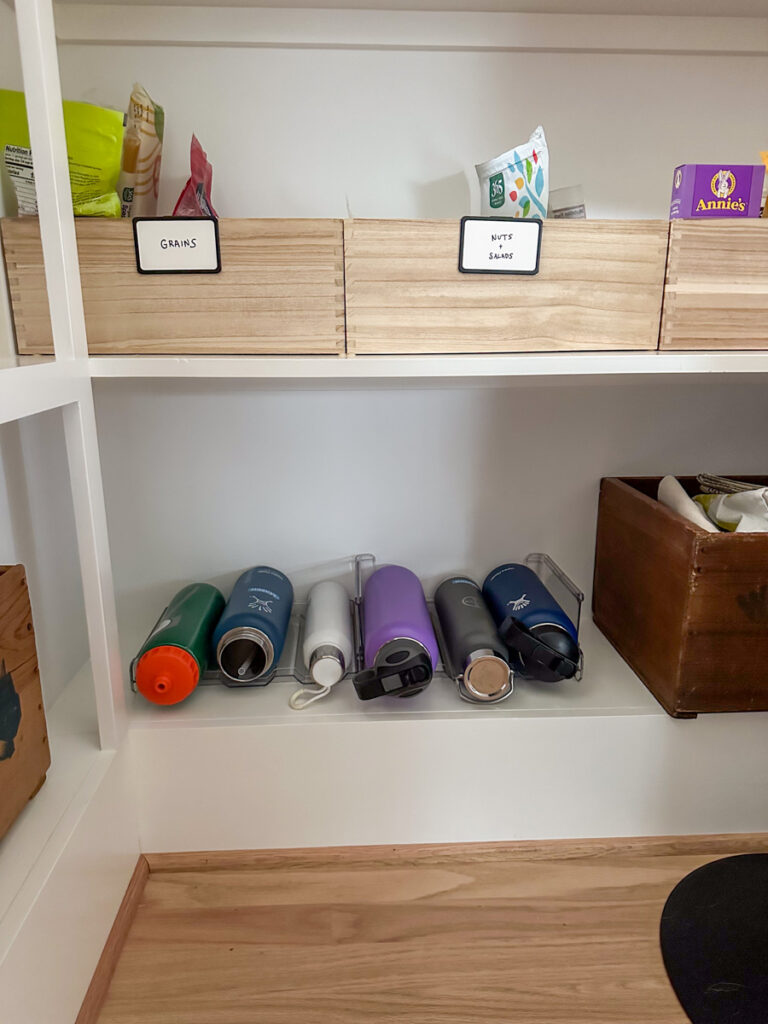
If you’ve followed my Instagram stories, I wrote about purchasing this inexpensive water bottle holder and having it in a drawer. But the bottles were sliding around. Rather than buying more drawer dividers to contain them, I ended up moving it to the pantry. It’s not as pretty as a drawer since water bottles are not uniform, but the slots keep our extra water bottles neat and tidy. I love that it can accomodate both large and small bottles. I decided to keep the two shelves side by side instead of stacking them for easier access.
12. Wine Rack
I didn’t think we’d have room for a wine rack in the pantry, but we did! It’s nice not to have to go to another floor to check the wine stash. Tip: you can use a wine rack to store other big bottles, like sodas or extra olive oils.
13. Clear Magazine Holders
Repurpose clear plastic magazine holders for foil, plastic wrap, or parchment paper. All those long tubes that don’t look great just lined up taking up shelf space.
14. Shelf Drawers
Consider pull-out shelves or drawers for accessing items at the back and/or utilizing all the height of your shelves. These beautiful sliding baskets are pretty and functional, especially if you have widely spaced shelves.
15. Stackable Bins
These are great when you have items you rarely use, such as seasonal items for baking, picnics, popsicles, etc. Group items together and use all the vertical space you can. Clear ones make it easy to see what’s inside as do wire ones, or you can use labels otherwise. I also love the stackable bin for items that you always keep extras on hand. Say you have two open bags of something but keep unopened ones so you never run out.
16. Hooks
Install hooks for hanging aprons, oven mitts, cleaning supplies (like a broom), or kitchen tools.
17. Over-the-Door Rack
We have a barn door for our pantry that stays open, but if you do have a door that closes, use the back of it for all the things! Over-the-door organizers are great for spices, condiments, packets, or cans. I love a black wire one.
18. Wall-Mounted Spice Rack
Similarly, if you have wall space, you can hang a spice rack. These are thin so they won’t take up a ton of your open walk-in volume, and smart for extra spices that won’t fit in a spice cabinet or drawer. These black wire ones are gorg.
19. Outlet
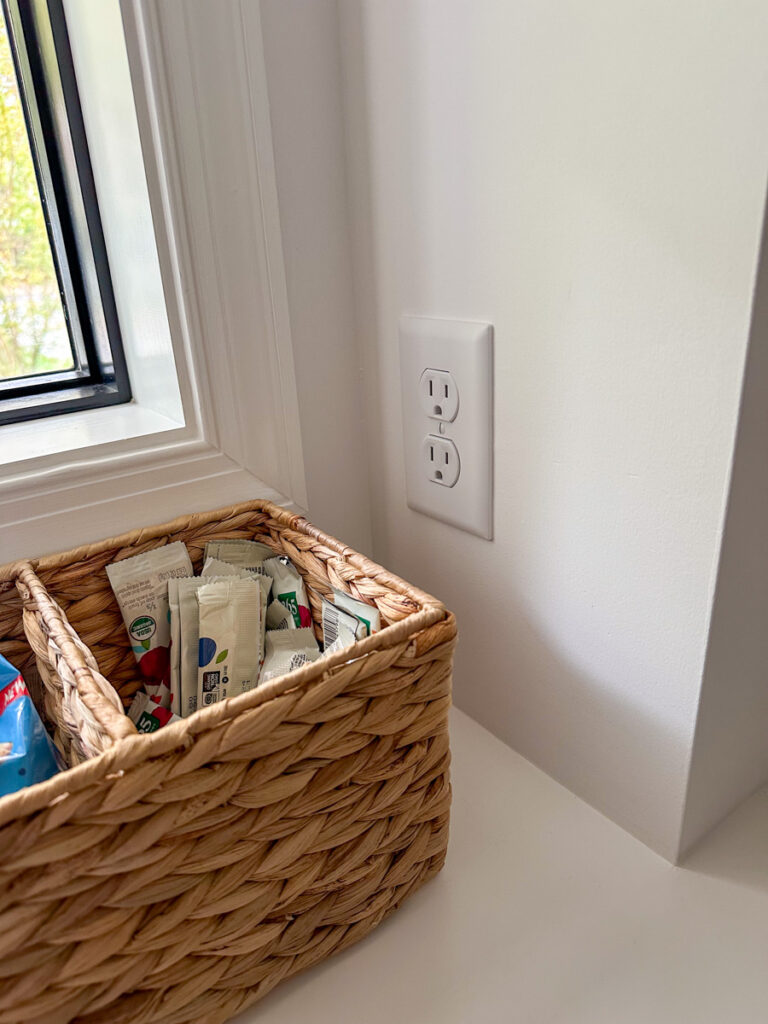
If you don’t have an outlet in your pantry, consider having an electrician put one in. This could be used for an appliance, vacuum (see below) or anything else electric. We had our electrician install a low outlet for our robot vacuum so that it can go in and out of the pantry on schedule. While I do wish the vacuum was a bit more hidden, this has worked great in our new space.
20. Hand Vac
And on the subject of electricity, a mini hand vac is so handy to have for crumbs! I don’t know about you, but somehow my pantry always has crumbs from people walking in there and snacking on the spot. A quick vac keeps them at bay. If you have an outlet tucked into the shelves, you can hide the hand vac in a basket.
21. Butler’s Shelf
This is another one of those things that might not work in your pantry, but if you’re planning to build on, having what I would call a “butler’s shelf” was a must-have for me. While we didn’t have space in our kitchen for a full-on butler’s pantry, I wanted a shelf that served as counter space for our galvanized “bread basket” and a placeholder for any things we needed to stash for a few days, like leftover cupcakes. I LOVE this shelf for filling a water bottle with electrolytes or temporarily storing things.

22. Kid-Friendly Zone
Create a lower shelf or bin for children’s snacks and lunchbox items. The four baskets on our middle shelf are almost all kid foods, and they can run and grab whatever they need.
23. Labels
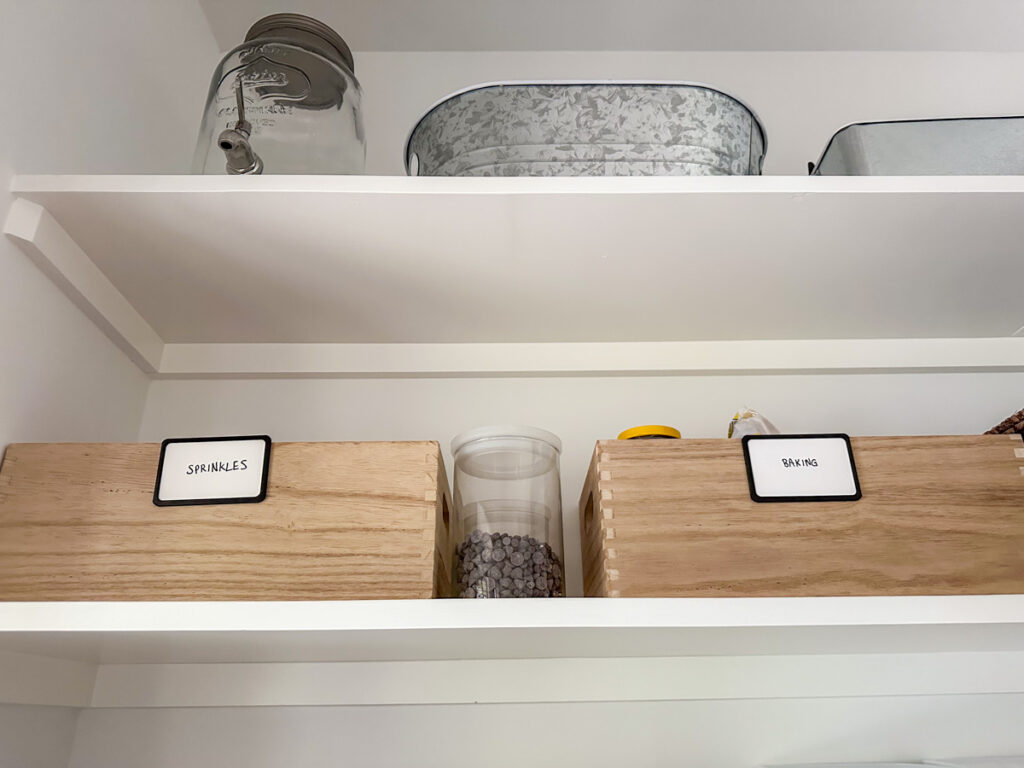
Where you don’t have clear containers, labels are a must to quickly identify what’s inside. These are the Target bin labels Layton loves and bought for us. Use your best handwriting with a Sharpie.
24. Shelf Liners
Shelf liners can be nice to keep your shelves easy to wipe clean. Even if you don’t do them everywhere, a they are nice to have in a few key spots where spills or extra protection is needed. I prefer cork liners for a nice look over the grippy plastic that tends to shift. (But this marble is pretty too!)
25. Inventory List
Keep a list on the pantry door to track what you need to restock and what you have. This is especially nice if you include expiration dates!
26. Chalkboard or Bulletin Board
Attach a chalkboard or whiteboard for notes, grocery lists, recipes, or menu planning. I like to have a bulletin board for reminders and notes too, but because of our electrical panel, we weren’t able to hang one! We have a place for small papers in our mudroom instead.
Bonus: A step ladder
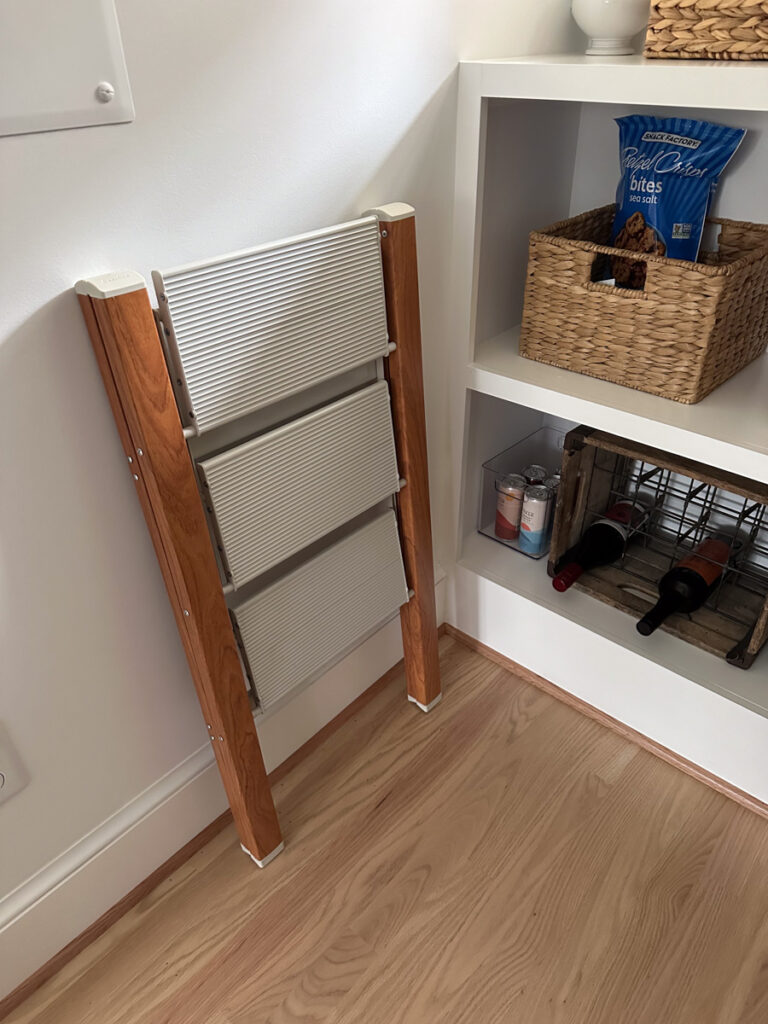
Key for shorties like me to reach the top shelf in both the pantry and the kitchen. This step stool is from Amazon and is AWESOME!
How To Organize A Walk-In Pantry
Buy containers first
When Layton came to organize our pantry, she brought a car full of bins (with the tags on) with her. We were able to start putting pantry staples into the bins to quickly determine what we needed and what worked. This is counter intuitive to what you might think, but I can’t express how helpful it was to have the materials we needed while we were sorting rather than going to the store at the end. We did go to the store at the end to return a few things that didn’t work and buy a few more of the ones I loved the most, but the bulk of the organization happened all at once with the bins on hand. So first stop: buy a variety of different containers and sizes before you get started!!
Declutter First
Before organizing your pantry, go through your pantry and remove expired or unused items. This will also make the organization process more efficient.
Categorize
Group similar items together. Common categories include canned goods, grains, baking supplies, snacks, spices, condiments, and cleaning supplies. Use the different types of containers you purchased to move things around until you find the perfect container for the bill.
Put the prettiest items in the front and center
When putting the containers back in your pantry, put colorful items in hidden areas and the prettiest /most cohesive front and center. We chose to put our baskets and vintage decor where you can see it from the kitchen and our “messiest” clutter hidden in the corner out of sight.
Consider the weight of items
I generally prefer to put the bigger, heavier items on the lower shelves. Store small appliances, like blenders, food processors, and stand mixers, on lower shelves and lighter things like paper towels up high.
Label Everything
Once everything is in place and you’re happy with both what’s in the containers and where they are, label it all!
Maintain with FIFO
FIFO is an accounting term that means First In, First Out aka always use your oldest product first to keep the age of product at a minimum. When you restock your pantry, place newer items behind older ones. This helps ensure that you use items before they expire.
Seasonal Rotation
Rotate your pantry items seasonally. Move holiday-specific items to the front during their respective seasons so they are easily accessible. During baking season you might want your sugar and flour on a lower shelf than in the summer when smoothie making ingredients get the prime spot.


Louise RD says
Love this post- lots of great suggestions. Your pantry space is just beautiful !!
Kath Younger says
Thanks Louise!