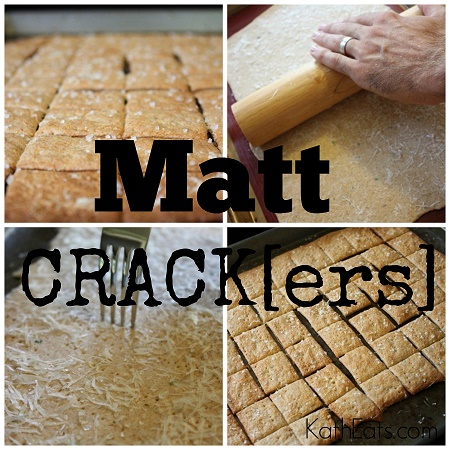
These cheesy, 50% whole grain crackers are great for dipping. They have big crunch, a light cheesy flavor, and can take a variety of adaptations to fit your needs. And they’re easy to make too! This batch yields one pan of about 50 crackers, cut into 1″ squares.
|
Ingredient |
Baker’s Percent |
Weight (g) |
Volume |
| WW flour | 50% | 96g | .75C |
| AP flour | 50% | 96g | .75C |
| Water | 50% | 96g | 3.5oz |
| Shredded cheese | 20% | 38g | ~1C |
| EVOO | 5% | 10g | 2t |
| Kosher salt | 2% | 4g | .5t |
| Instant yeast | .5% | 1g | .25t |
| Toppings | 1-3T of whatever! |
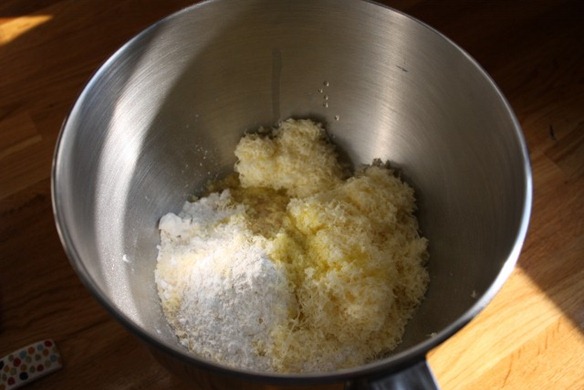
Even though the basic instructions are “add to bowl and mix,” you’ll want to take note of a couple things. Because this is a pretty stiff dough (meaning it has a low water content), you want to make sure all the ingredients are evenly distributed before adding the water. It couldn’t hurt to add all the dry ingredients to the bowl (flour, salt, yeast) and mix for just 30 seconds to make sure you don’t end up with a salt ball in one cracker and another cracker that tastes completely bland.
As for the other ingredients’ prep, I recommend using the warmest water your sink can produce. This is because the cheese you’re adding will be cold from the refrigerator and we want to keep the dough warm so those yeast can get in a little activity before baking. The cheese can be prepared however you like – I went with a very fine shred so that each cracker is uniformly cheesy (and I used Monterrey Jack). The great thing about these crackers is they can accept a variety of extra ingredients without changing the base recipe too much. I used a half tablespoon of chopped rosemary, but may I recommend all sorts of herbs, black pepper, seeds (chopped if they’re big ones), and any other spice you can think of.
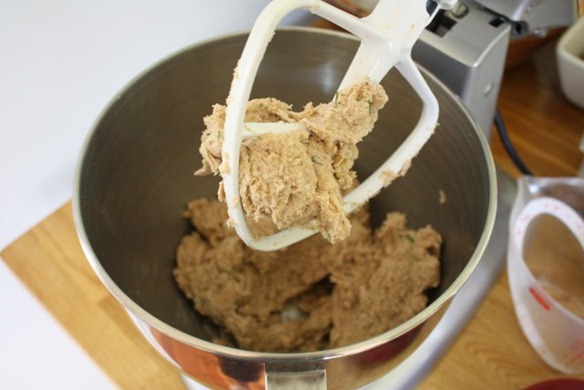
Once the dry ingredients are incorporated, add everything else and mix for just a minute or two to bring everything together. We’re not going for a super-glutenous bread here, so I just used the paddle attachment on my mixer.
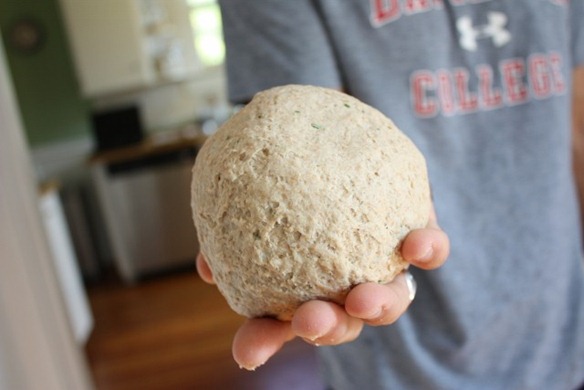
Even still, I had to finish mixing by hand, and you could probably do the whole batch this way if you don’t have a mixer. This is because it’s difficult for the mixer to really “push” all that flour into so little water. Just knead until the dough ball is uniform. Unlike with bread, you don’t need this beautifully smooth surface. You’ll notice a lot of tearing on the skin – that’s okay.
Cover and allow to rest for at least 30 minutes, but if you want some serious bready flavor, you could let it sit for an entire 24 hours if you wanted. But 30 minutes is enough to let everything relax for rolling out. Begin preheating your oven to 400* when you’re about 10 minutes away from beginning the rolling procedure.
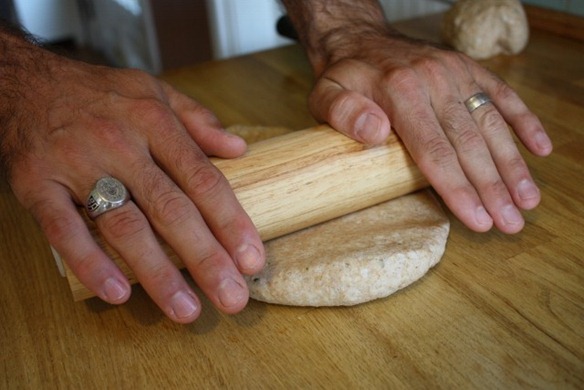
This dough is so stiff that you probably won’t need to put any flour down to aid in rolling.
Just muscle it out to the thinnest rectangle you think you can get it without tearing. If you feel the dough is springing back to shape with every roll, let it rest for a few minutes and come back to finish.
As for pan prep, I tried a silicone mat, and on a naked pan with cooking spray. Either works fine, but you’ll want to bake them just a couple minutes longer if you use a mat because it absorbs some of the heat. Place your entire rolled out rectangle on the pan, and then it’s time for topping.
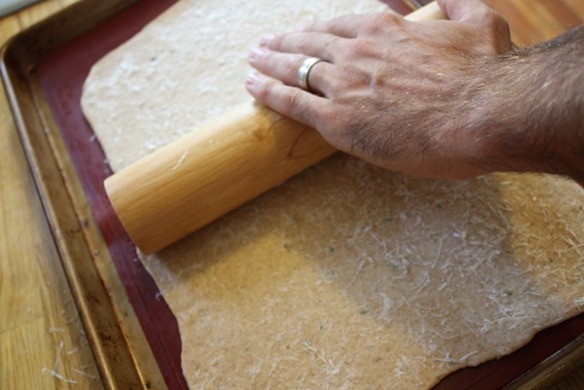
At the very least, I recommend a little sea salt for topping, but you can put a variety of things on. Herbs, seeds, or even more cheese (use thick grated cheese so you can still see it on the baked product). Just sprinkle your toppings on, and then use the rolling pin to lightly roll them into the surface. (I used salt and parmesan).
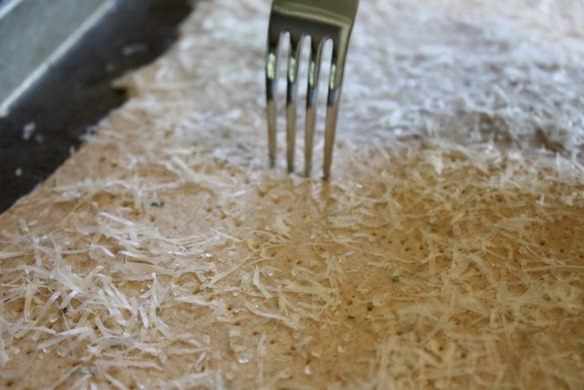
Then you should dock the crackers with a fork – just kinda stab it all over to provide little holes for steam to escape. The extra texture also makes it look nice.
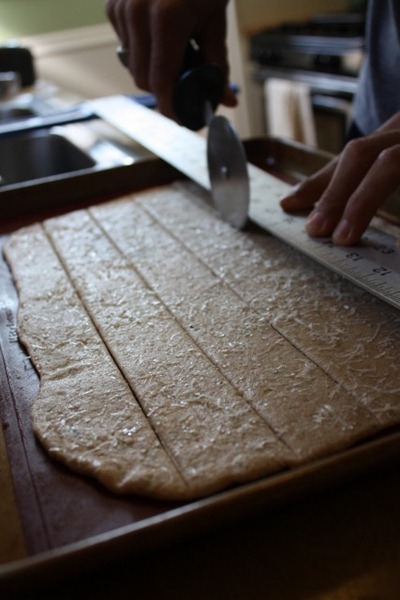
I like to score the crackers before baking instead of completely cutting through them. If they stay in a whole sheet, they’ll hold their shape better. But feel free to use fun cookie cutters too – you’ll want to let the rolled out sheet of dough rest a little while longer before cutting your shapes out so they don’t spring back as much. If you’re going to use cookie cutters, you could do the cutting before putting on the pan.
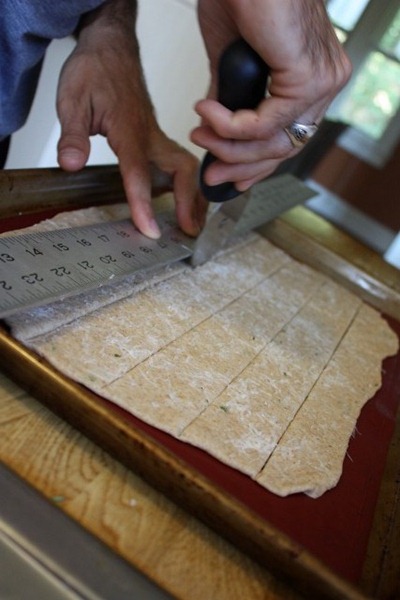
I used a pizza cutter to score, guided by a ruler. If you’re going to use a pizza cutter, I recommend only rolling in one direction, and barely using any force. When you try to roll back and forth, it’s hard to keep it a straight line. Just roll multiple times until you alllllmost cut through the dough. I didn’t actually measure the distance between cuts but if you’re that much of a perfectionist, feel free. Just remember that when they’re in a big bowl, nobody will really be able to tell they’re not all the same shape. At the very least, try to have your crackers the same general size so they bake at about the same rate.
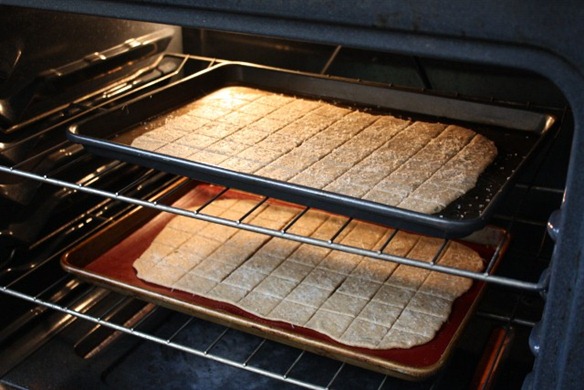
Finally, we can put them in the oven, for about 23-28 minutes. (This is clearly a double batch, but the time would be the same for just one.)
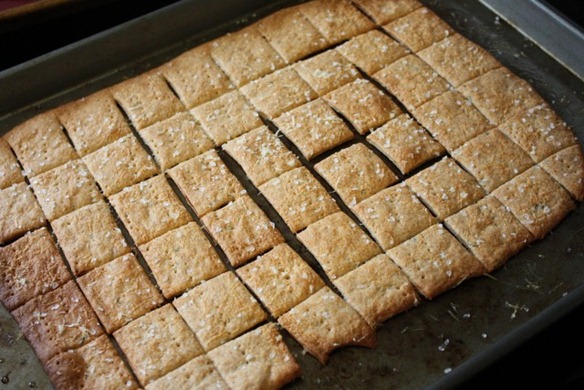
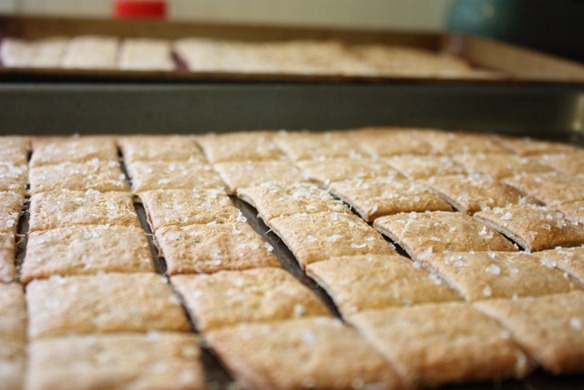
You’ll be tempted to take them out early as they begin to get little brown spots, but leave them longer. Note that a done cracker will NOT feel crispy coming out of the oven. They will crisp as they cool. To test doneness, give them a little push with your finger. A perfectly done cracker will feel a little dense have just the tiniest bit of give to it. Enjoy!


